Helpful tips to install my long undercar coolant tube repair kits
I have made up some installation tips. As people buy and install these pipes some might offer me some extra tips and I'll add them as I get them.
Start by removing your front tire and the rearward or both front inner wheel well(s).
Cut your existing coolant tube halfway between the first and second bend. You can also hold my replacement tube in place to mark where the cut should be.
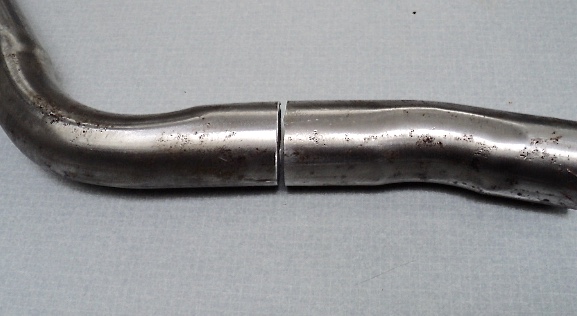
Hint; The cut does not have to be perfect as you are installing a rubber hose over it. If your cut is at a slight angle you should not have to worry too much about it. You might also start slightly longer and grind it back some until you get a good match to my repair tube.
You will see the small inner stainless steel pipe piece I supply is two different diameters. GM had this coolant tube specially made. This GM size tube is a non standard size tube. So my long repair pieces have a smaller ID than the factory tubes. The large end goes in the OEM GM end and the smaller end goes in my repair section of pipe.
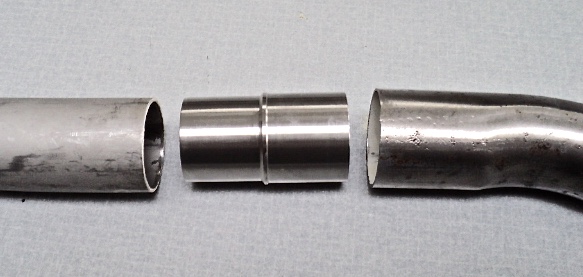
Fitting the small inner stainless steel piece into your front section OEM GM tube:
The OEM GM tube is welded and there is a burr line inside. The pipe is also generally at a slight oval because of the bending process. The inside weld burr line is wherever it happened to be as they made the tubes. So my small tube may not want to go into the OEM GM tube very well. I made them slightly smaller so they fit in the OEM GM tubes better.
A few tricks you can use: Put a C clamp on the tube to try and make it closer to being round. This may allow you to push or hammer in my small tube.
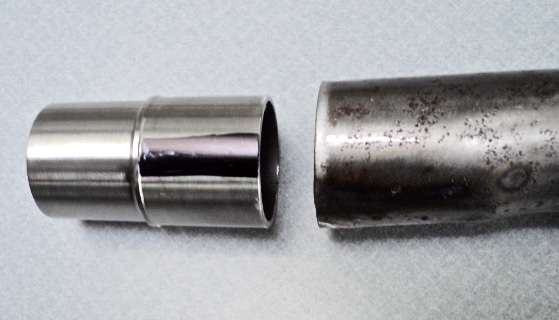
You can also grind a small flat area on the thicker end to help it go in the tube easiler (marked in black in the picture below).
If you have a high speed die grinder and grinding stone you can go in and grind this burr line down some if need be. Clean the inside of the tube before you go forward again.
At this point I would install the long tube back in the car and install the front and rear body clamps and make sure everything fits well. Make any adjustments as needed. Once you are happy everything fits well drill and install some rivets into the OEM GM pipe end. There is probably not enough clearance to get 4 rivets at 90 degrees apart. Just do the best you can.
Do not drill and rivet the the new pipe end yet!
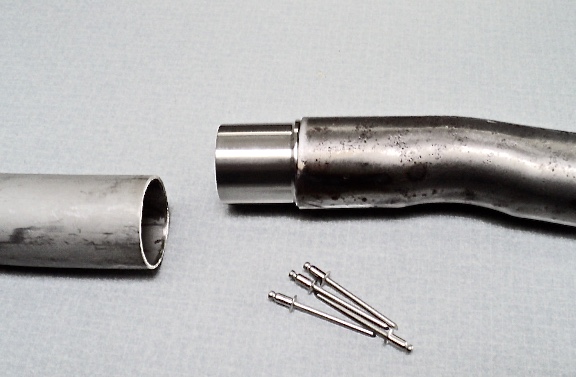
Remove the long tube. Slide the rubber hose piece and both clamps onto the OEM end of the coolant tube. Slide it back enough to work on the new pipe section. Install the new pipe and the clamps. Once everything is in place drill and install rivets into the new pipe.
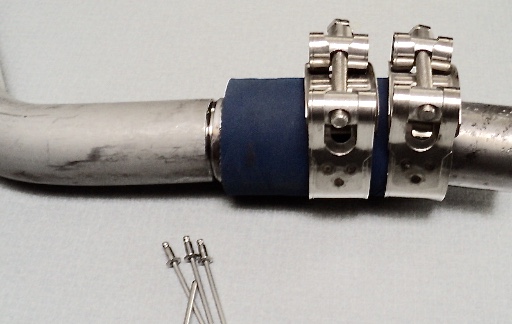
Slide the rubber hose back and tighten the clamps.
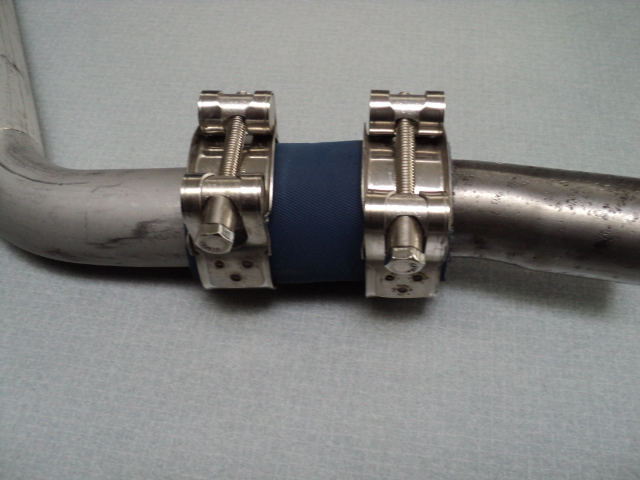
Reinstall the inner fender liner and tire and you are finished.

